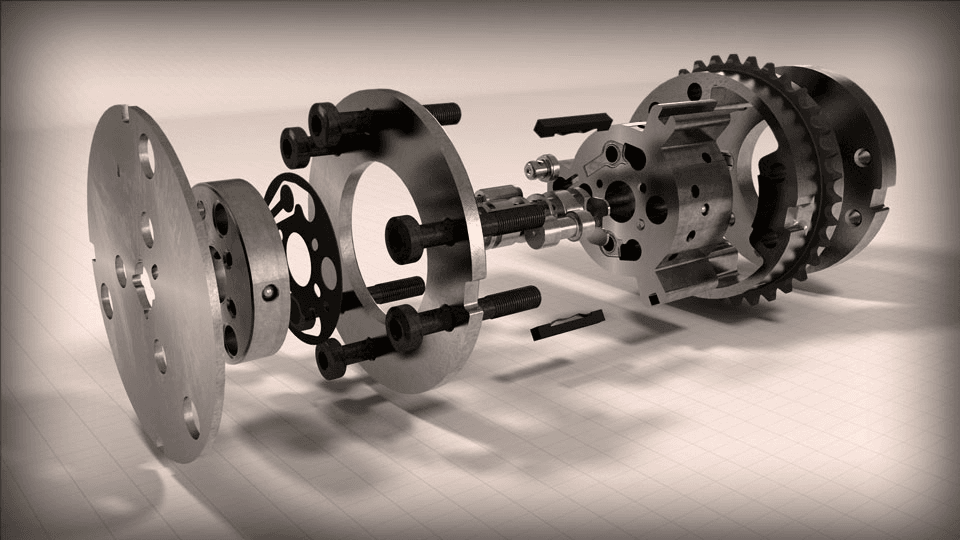
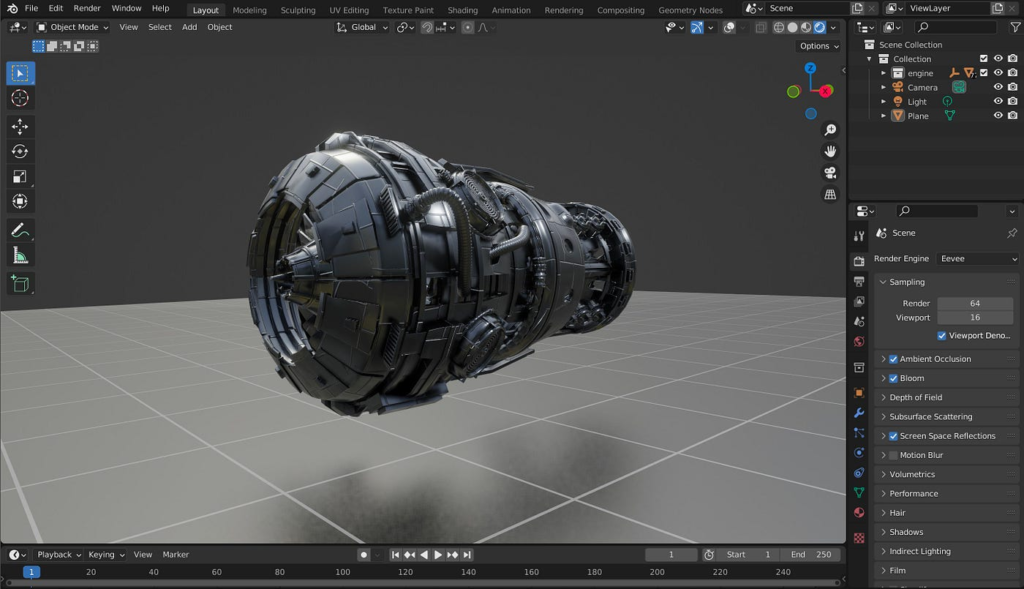
Creating a professional product animation can be a game-changer for showcasing products in a visually engaging way.
This Blender tutorial walks you through the essential steps for creating a sleek 3D product animation, ideal for anyone looking to bring their designs to life with style and realism.

Why Use Blender for Product Animation?
Blender is a powerful tool for 3D modeling, animation, and rendering. Its vast capabilities allow you to make photorealistic animations that can capture the essence and quality of any product, all without the cost of high-end software.

Step 1: Preparing Your 3D Product Model
Before animating, start with a clean, detailed model of your product. You can either import a model you’ve created, download one, or build it directly in Blender.
- Import Your Model: Open Blender and import your product model by going to
File > Import. - Position and Scale the Model: Make sure your model is centered and scaled correctly. This will simplify the animation process.
- Apply Materials and Textures: Set up realistic materials and textures, which will play a big role in making the product look professional.

Step 2: Setting Up the Scene
A well-composed scene can make your product stand out and keep the focus on the details.
- Background and Environment: Use a plain background (like white or gradient gray) for a clean, minimalist look. You can add a simple plane or background color in the “World” tab.
- Add Lighting: Good lighting is essential for product animation. Use a three-point lighting setup:
- Key Light: Main light source to highlight the product.
- Fill Light: To soften shadows.
- Back Light: Adds depth and separates the product from the background.
- Adjust Camera Settings: Position the camera to capture the best angle of your product. Use a focal length of 50–85mm to reduce distortion, giving a professional look.
Step 3: Animating the Product
With the scene ready, let’s bring the product to life with smooth animations. Simple rotations, zoom-ins, and fly-bys work well for product animation.
- Add Keyframes for Movement:
- Select your product, press
I(Insert Keyframe), and choose “Location” or “Rotation” to set an initial position. - Move the timeline forward, rotate or move the product to a new position, and insert another keyframe. This will create an animated sequence between the two points.
- Using the Graph Editor:
- Go to the
Graph Editorto adjust the speed and smoothness of the animation. Set curves to “Ease In and Out” to create smooth transitions between keyframes.
- Adding Camera Animation:
- Select the camera, set keyframes for its position and rotation, and create a zoom-in or orbit effect around the product.
- To keep the product in focus, set a “Track To” constraint on the camera, targeting the product.
Step 4: Adding Realism with Materials and Textures
Realistic textures make a huge difference in the quality of a product animation.
- Use PBR Materials: Physically-based rendering (PBR) materials create realistic lighting and reflections on your product. Use the “Shader Editor” to set up your materials.
- Adjust Reflection and Roughness: These settings help convey the surface quality of the product. For example, a glossy surface will have a low roughness, while matte surfaces have higher roughness values.
- Add Texture Maps: If you have texture maps (like normal maps or bump maps), use them to add surface details to your product.
Step 5: Fine-Tuning with Lighting and Shadows
Now it’s time to add finishing touches with lighting adjustments and shadow effects.
- Add Area Lights: Area lights provide soft, natural shadows and can be positioned near the product to create a defined yet subtle outline.
- Use HDRI for Reflections: An HDRI image in the environment can add realistic reflections to shiny surfaces, making the product appear more lifelike.
- Adjust Shadow Settings: In the “Render Properties” tab, enable soft shadows to make the product look more natural and well-lit.
Step 6: Rendering the Animation
With your animation complete, it’s time to render your work. This will create the final video of your product animation.
- Set the Output Format: In the “Output Properties” tab, set the resolution and frame rate. 1080p at 24–30 FPS is ideal for a professional look.
- Choose Render Engine: For the best results, use Cycles with GPU rendering enabled (if supported by your computer).
- Render the Animation: Set the file output path, choose a file format like MP4, and hit
Render > Render Animation. This may take some time depending on the complexity of the scene.
Tips for a Successful Product Animation
- Keep It Short: A 5–10 second animation is usually enough to showcase a product without overwhelming the viewer.
- Use Slow, Smooth Movements: Avoid fast or abrupt motions, as these can feel unprofessional.
- Highlight Key Features: Focus on the most interesting aspects of the product, like unique textures or moving parts.
Conclusion
Creating a 3D professional product animation in Blender is a great way to showcase products with style and impact. By following this Blender tutorial, you can make your products look stunning and engage viewers effectively. Remember to experiment with lighting, materials, and camera angles to make your animation truly stand out. With practice, you’ll master the art of 3D product animation and bring your designs to life like a pro!